Edit a provider
This page describes the main features you can edit for a provider. Most options are also described in the article about their function. All of these options can be found in the provider settings. You can only edit a provider when you are an admin of it.
How to open the provider settings
To edit a provider, you have to click on the gear wheel in the toolbar of the provider. This symbol is only visible to portal and provider admins. Now a new window called "Edit Provider" opens with multiple tabs. Whenever you edit your provider be sure to click “Update” to save the changes you made. By just clicking the “Close” button your changes will not be saved. All providers with the gear wheel symbol are visible in BROWSE.PROVIDER and ADMIN.PROVIDER.
Tab: Access
In this tab you can grant manual access to individual users or groups of users (whole groups, departments, organizations, projects or communities). More about the visibility and access to a provider in general can be found here. Information about the direct access via the "Access" tab can be found here.
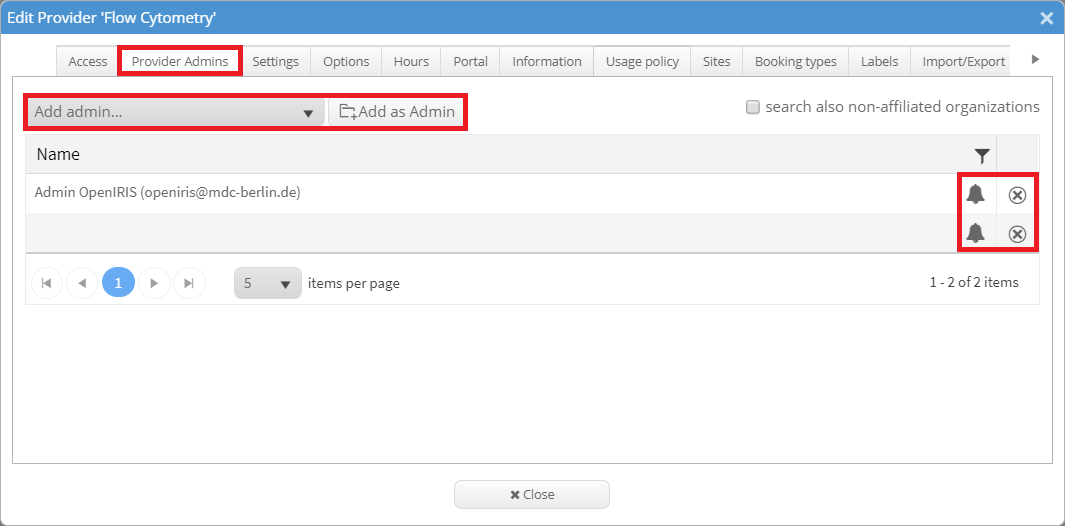
Tab: Provider Admins
This tab lists all admins of this provider. New admins can be added by clicking on "Add admin" and entering the name or email address. It is also possible to search for users from non-affiliated organizations. When you found the right user, select the name and click on "Add ad Admin". Already existing admins can be removed by clicking on the x symbol. By clicking on the bell symbol the subscription for the provider can be edited. It is only possible to set whether an admin wants to receive all provider emails or none.
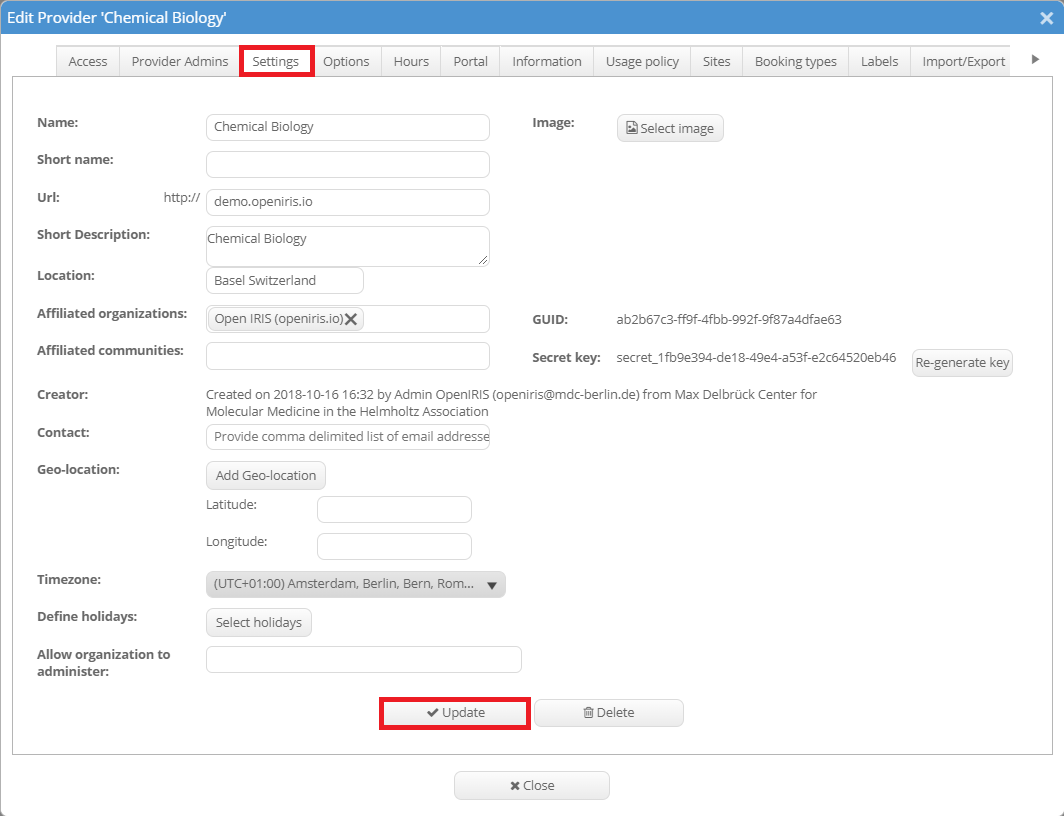
Tab: Settings
Here you can change the general information about the provider. This includes its name, URL, short description, location, affiliated organizations and communities, contact, timezone, ect. It is also possible to add or edit an image for the provider.
Tab: Options
This tab contains general options about the provider. Here these options are shortly explained here.
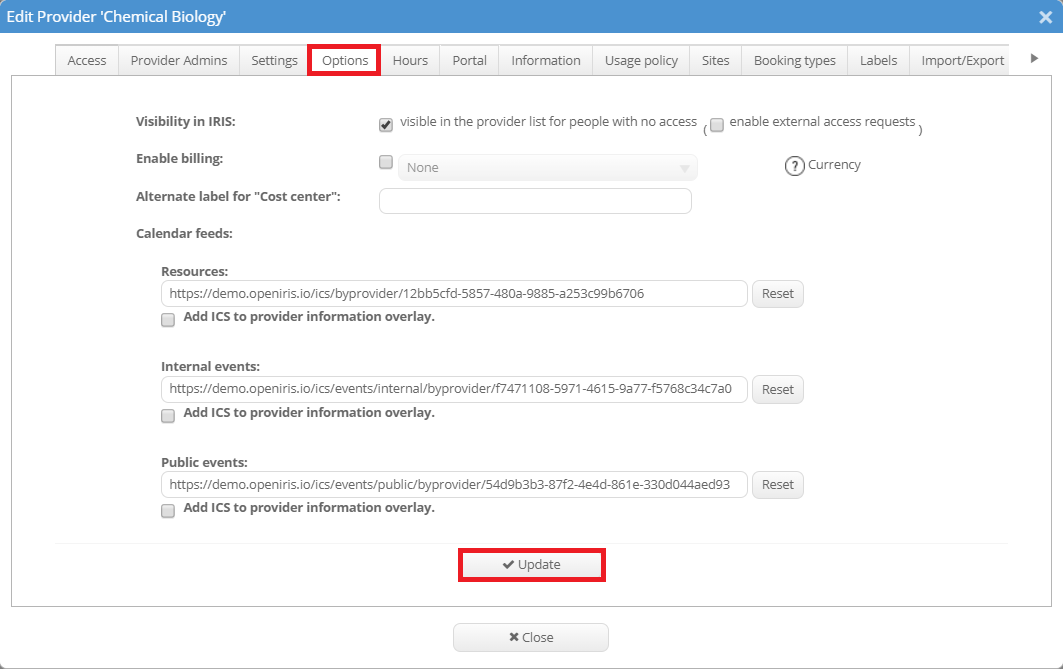
Visibility in IRIS: Your provider is by default only visible to users with access to it. But the visibility of your resources can be altered by ticking "visible in the provider list for people with no access". If this option is enabled, the provider will be visible to everyone even to people who are not logged in into OpenIRIS. Every provider which is set to pubic is marked by the round grey symbol in the toolbar. Read more about this here. It is also possible to enable an access request for your provider on the external provider list which is visible for everybody. This way people with no access to Open IRIS can send you an access request. Enable this feature by ticking "Visible in the provider list for people with no access" and "enable external access request". It is important, that both buttons are ticked. The latter one enables the "Request access" button on the external provider page. Read more about this here.
Enable billing: By default billing is not enabled in the system for resources providers. To enable it you must select "Enable billing" together with your currency. Now the Admin tab should feature the new sub-tab "Billing". Read more about billing here.
Calendar feed: This feature contains links for calendar feeds about resources, international events and public events. These links can be shared with other users.
Remember to click "Update" after changing the options to save the changes.
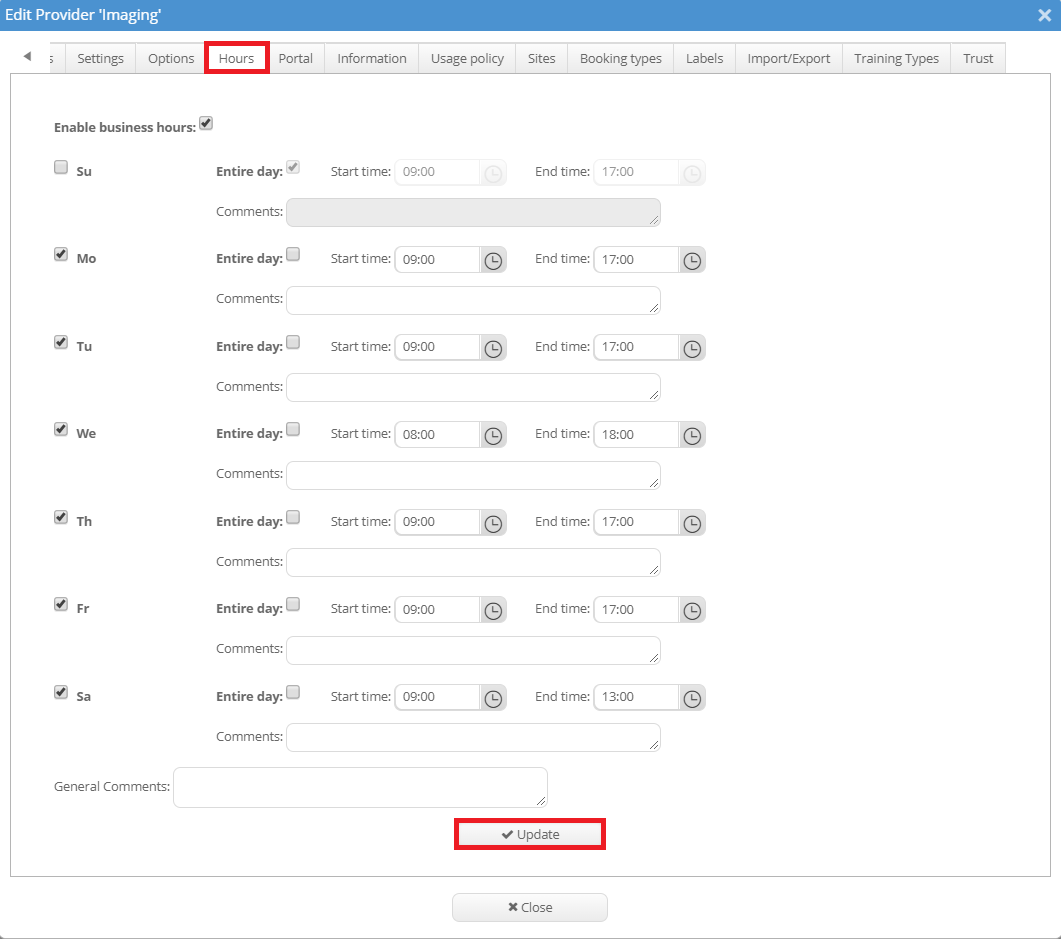
Tab: Hours
In this tab you can set the business hours of your provider. They can be set for each day individually. To set the business hours of your provider can be important for:
- Billing: In billing you can define different prices for the regular usage and the usage off-hours. Read more about billing here.
- Statistics: In the statistics you can display the usage of each resource in percent of the working hours. It is planned that these working hours soon conform with the set hours of the provider in this tab. To read more about statistics click here.
Tab: Portal
This tab lists all portals your provider is a part from. Here you can also decide whether the resources of your provider should be only visible within a portal or also external.
Tab: Information
In this tab you can give more information about the provider. This can be either a URL (e.g. your providers own webpage) or directly entered text. The text entered here will then be displayed in the details window of the provider. The details window can be opened by clicking on the magnifying glass symbol in the toolbar of the provider.
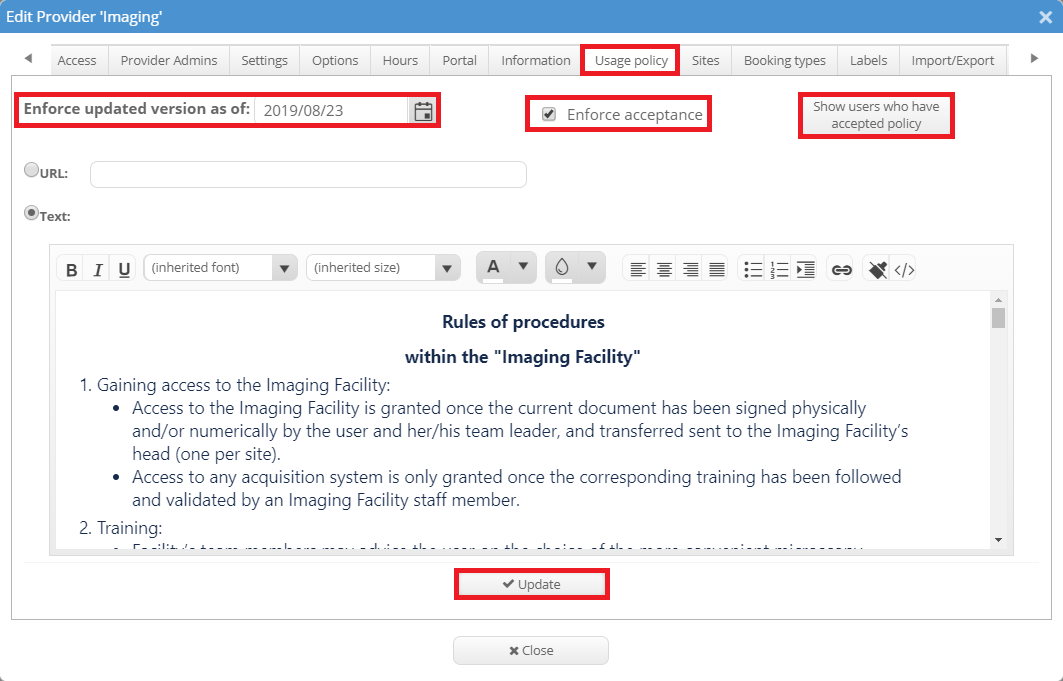
Tab: Usage Policy
As an admin for a provider you can enter your usage policy for it. It is possible to select whether the usage policy needs to be accepted in order to use the resources associated with your provider. When users are booking a resource of your provider for the first time a window with the usage policy will pop up. If acceptance is enforced users can only continue with the booking if the usage policy is accepted. A usage policy can either be entered directly or via URL. An updated version can be enforced and all users who have already accepted the policy can be shown. To read more about usage policy click here.
Tab: Sites
In this tab you can set sites of your provider. This can be particularly important if your provider has multiple locations. Each resource of your provider can be assigned to a specific site if the site has been previously added in this tab.
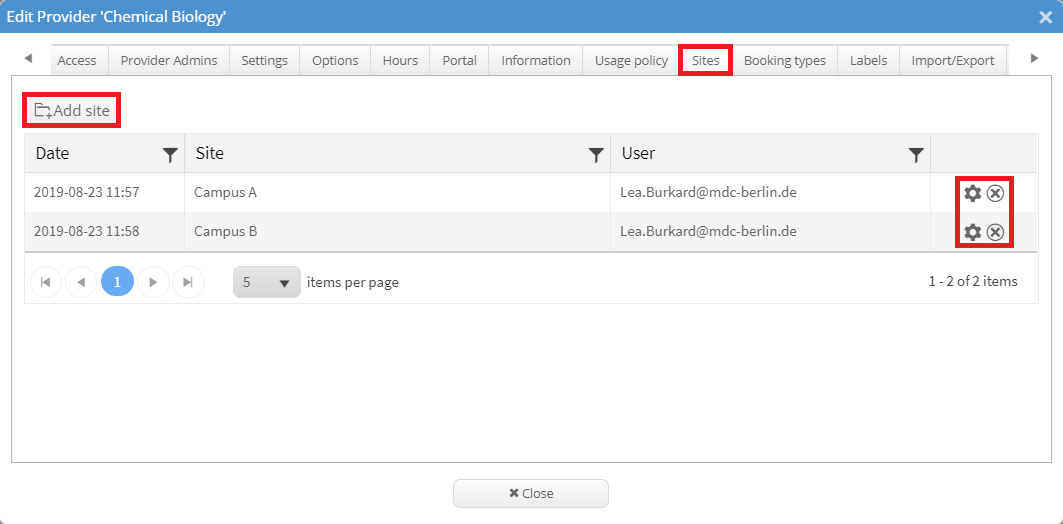
By clicking on "Add site" a new site can be added to this provider. To add a site you need to give it a name and select closure dates. Existing sites can be edited (click on the gear wheel symbol) or deleted (click on x symbol).
Now each resource can be assigned to a site of your provider. This can be done in the settings tab of the resource settings.
Tab: Booking types
As an admin for a resource you can select the booking type for each booking. The preexisting booking types available are: "Unavailable", "Operator assisted", "Regular usage", "Training", "Maintenance" and "Out of service". Each booking type has its own color code and can therefore be easily recognized in the timeline of a resource. Additionally it is possible for each provider to create own booking types. To do so click on "New Booking type". A new window will open asking for a name, a status (active or inactive) and a booking color. By clicking on the gear wheel on the right of each booking type it is possible to edit each existing booking type, even the preexisting ones.
Tab: Labels
Tab: Import/ Export
Tab: Training Types
In this tab new training types can be added and existing ones can be edited. To create a new training type click on "New Training type". A training type consists of a name one or more resources and a status (active/ inactive).
Tab: Trust
In this tab "trust" can be enabled. The concept of "trust" exist between a user/group/department/project/community and providers. A provider can add a a user/group/department/project/community to the trust tab. This allows admins of a provider to be also admins of the a user/group/department/project/community. This means that the admin of the provider has the full rights to edit the user/group/department/project/community -settings and therefore should be used carefully. To read more about "trust" and how to enable it click here.