How to use Visual Studio Code in HPC environment
Using Visual Studio Code in HPC environment is a little bit tricky operation. Here is the How to Guide to explain how to do it properly.
The basic idea is to reserve an interactive session from HPC and start the Visual Studio Code in that session. Then connect your browser to the computing node you are running your interactive session. The HPC computing nodes are not visible to the outside network, so the computer running the browser needs to be connected to the university network, or you need a tunnel your network traffic inside the university network.
Please notice that the examples here might not work out of the box. You might need to edit the host addresses and the port numbers because the cluster will not always give you the same node, and something else might use the port specified in the example.
1.0 How to run a Visual Studio Code on a compute node
First, we need to log in to turso.cs.helsinki.fi and request an interactive session. You might want to reserve the resources you need and choose the cluster where you want to run your job. The guide on how to do that is here HPC Environment User Guide#4.2InteractiveSessions
srun: job 70875278 queued and waiting for resources
srun: job 70875278 has been allocated resources
pvettenr@vorna-517:~$
We asked for an interactive session from cluster vorna with the flag -M vorna. Because we did not ask for any resources or specify, the queue/partition slurm gave us the resources from the test partition and the time limit is about 10 minutes. That is ok for this test, but you might want to reserve what you need for serious work.
Now we are ready to load the module code-server to get access to Visual Studio Code Server. This is a legacy module so the "module use.." command is also required.
pvettenr@vorna-517:~$ module --ignore_cache load code-server
1.1 Configuring the Visual Studio Code Server
Now we are ready to run the Visual Studio Code Server for the first time. We start running the command code-server and shut it down after it starts using <crtl-c>, so it writes a default configuration in a file ~/.config/code-server/config.yaml.
[2022-01-26T13:35:45.511Z] info Wrote default config file to ~/.config/code-server/config.yaml
[2022-01-26T13:35:46.142Z] info code-server 3.7.3 93fb76e4a71b1959ec2a23481ba2611200d714b2
[2022-01-26T13:35:46.144Z] info Using user-data-dir ~/.local/share/code-server
[2022-01-26T13:35:46.161Z] info Using config file ~/.config/code-server/config.yaml
[2022-01-26T13:35:46.162Z] info HTTP server listening on http://127.0.0.1:8080
[2022-01-26T13:35:46.162Z] info - Authentication is enabled
[2022-01-26T13:35:46.162Z] info - Using password from ~/.config/code-server/config.yaml
[2022-01-26T13:35:46.162Z] info - Not serving HTTPS
^C
Now we need to edit the configuration file ~/.config/code-server/config.yaml to look something like this.
# this configuration uses port 8992 you might need to change it
# if its already in use. Bind address 0.0.0.0 means that the server is
# binded to the interface connected to the network
bind-addr: 0.0.0.0:8992
auth: password
# This is the password for your session. Please keep it safe.
# You might want to change it
password: c635cb3f61b2ad5c676f0ed7
cert: false
We need to choose a port and check if the port number 8992 we chose is available on the host.
pvettenr@vorna-517:~$
Grep command did not find any match, so the port is available, and we can use it, and we do not have to change the configuration. If the match is found, you need to use another port number and edit the configuration file.
1.2 Starting the Visual Studio Code Server
Now we are ready start code-server.
[2022-01-26T13:47:35.423Z] info code-server 3.7.3 93fb76e4a71b1959ec2a23481ba2611200d714b2
[2022-01-26T13:47:35.423Z] info Using user-data-dir ~/.local/share/code-server
[2022-01-26T13:47:35.432Z] info Using config file ~/.config/code-server/config.yaml
[2022-01-26T13:47:35.432Z] info HTTP server listening on http://0.0.0.0:8992
[2022-01-26T13:47:35.432Z] info - Authentication is enabled
[2022-01-26T13:47:35.432Z] info - Using password from ~/.config/code-server/config.yaml
[2022-01-26T13:47:35.432Z] info - Not serving HTTPS
The Code Server runs with resources we reserved for the interactive session. If you run the server using the same reservation above, you only use one CPU, a small amount of memory, and have a 10 minutes time limit. How to reserve a proper amount of resources, please read HPC Environment User Guide#4.2InteractiveSessions
Now we have a Visual Studio Code Server running on a compute node, and we need to access it using a web browser.
2.0 Accessing Visual Studio Code Server on a compute node using a web browser when inside university network
First, we start a browser and connect that browser to the host you started the interactive session and the port you configured. In this example, the correct URL is this: http://vorna-517.local.cs.helsinki.fi:8992. Depending on that node you got from the cluster, you might have to use another address.
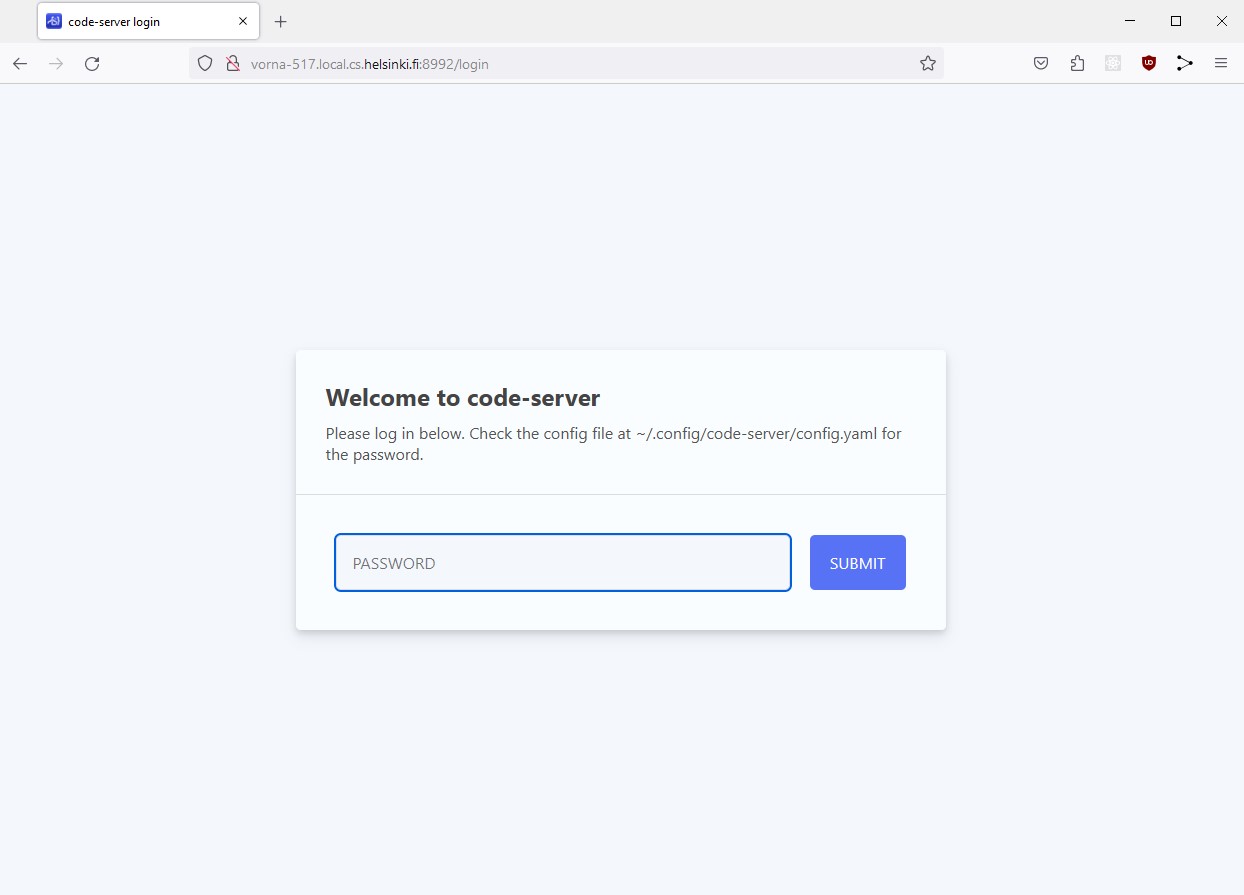
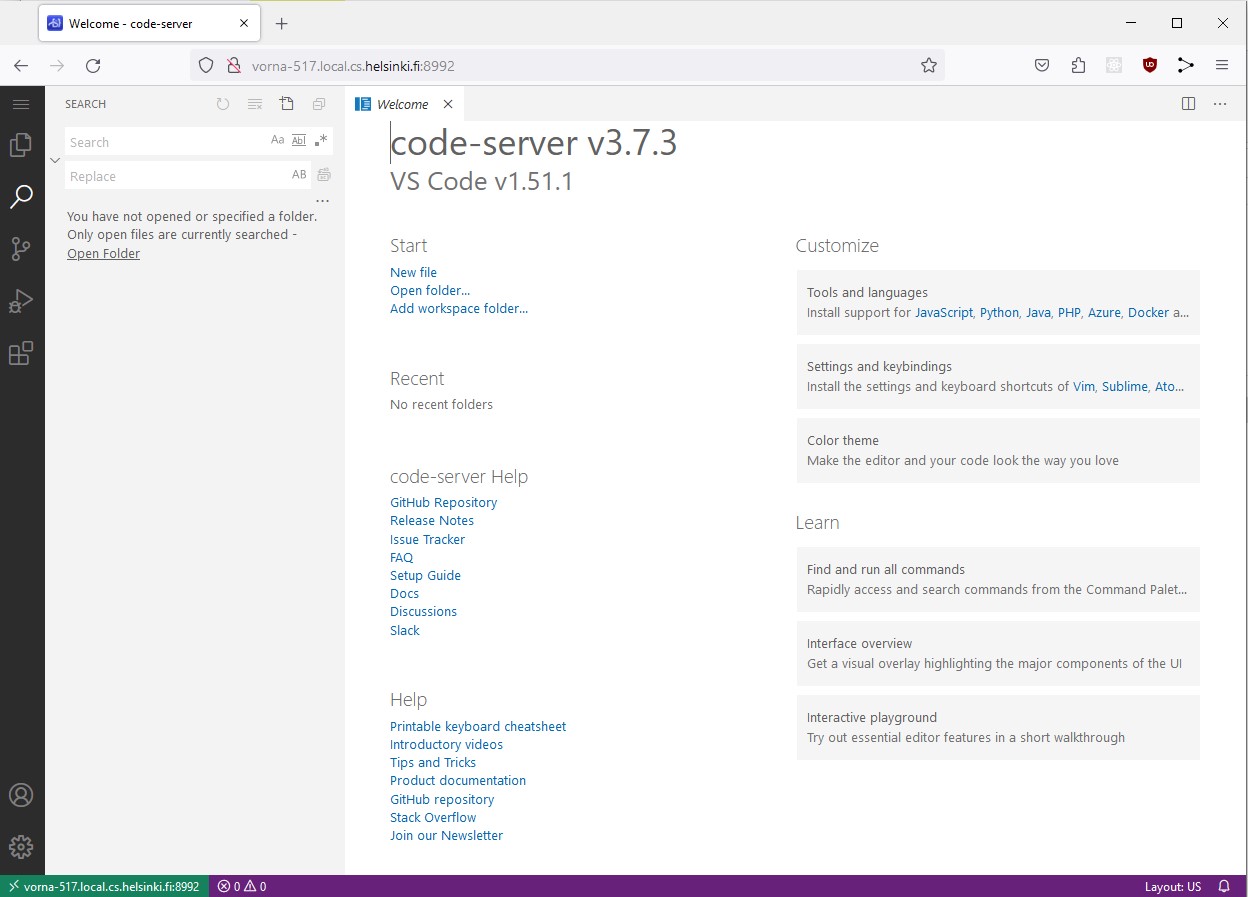
Now we type the password from your configuration file to the browser, and we are running Visual Studio Code on the compute node inside the interactive session on our web browser.
3.0 Accessing Visual Studio Code Server on a compute node using a web browser when outside university network
Ok. This is more difficult. We need to create a network tunnel inside a university network to get this working. Ssh has a feature called port forwarding which we can use. So we can use any interactive Linux hosts the University of Helsinki provides. In this example we use melkki.cs.helsinki.fi.
The ssh syntax looks like this:
So, -L switch means that we are tunneling all the data sent or received from host <compute node dns name>:<port at compute node> to local port <port at localhost> on the computer where you are running the ssh command. And the tunnel goes through the <host dns name, which has access to the university network>
Running that command creates a tunnel from vorna-517.cs.helsinki.fi's port 8992 to our local computer's port 8992 through an ssh session connected to melkki.cs.helsinki.fi.
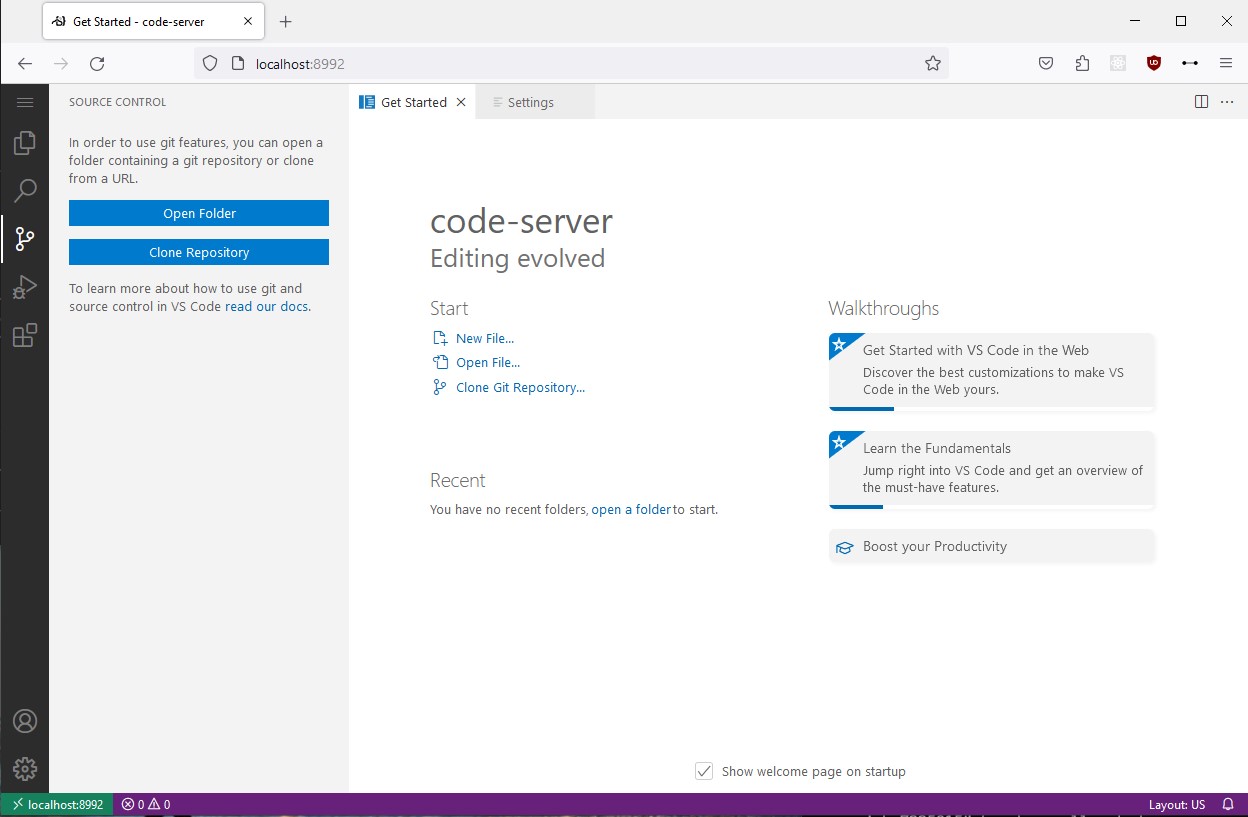
Now we can start a web browser type an address "localhost:8992" to a web browser address field, and it will open the Visual Studio Code Server session on the browser.
4.0 Possible Issues and tips
As you might have noticed, we run this example on vorna-517.cs.helsinki.fi, which the cluster allocated to us. You might not get the same node, so you need to modify the examples accordingly. An excellent way to get the hostname you are on is to ask it from the node itself.
vorna-517.local.cs.helsinki.fi
You might even want to go a little further and get the port forward address out from the node itself.
ssh -L 8992:vorna-502.local.cs.helsinki.fi:8992 melkki.cs.helsinki.fi
Maybe put that command inside a sbatch script, redirect that command output to a file and run Visual Studio Code as a regular sbatch job.
Please see our GitLab issues reporting system for currently open issues, and feel free to report new ones. We will maintain relevant issues list here.
- If you are using Python with VSCode, there is an issue and possible resolution.