GMT 5 install on Mac OS X
This page explains how to install version 5 of the Generic Mapping Tools for plotting geospatial data. There are several ways in which GMT 5 can be installed, and this is my preferred method because it is quick and easy.
Step-by-step guide
GMT 5 can be installed in two steps. Like most software installations, it is assumed that you have an administrator account on your Mac.
Install the Homebrew package manager for Mac OS X by opening Terminal.app, pasting the text below into the window and pressing Enter. If you have previously installed Homebrew, you can skip this step.
/usr/bin/ruby -e "$(curl -fsSL https://raw.githubusercontent.com/Homebrew/install/master/install)"This will install Homebrew. You will be asked during the installation to change the file permissions in the /usr/local directories so that you are the owner of those directories. If you have multiple users that intend to modify files in /usr/local and its subdirectories, you may want to think about whether this is a good idea. For most users, this should cause no trouble.
After the Homebrew installation has completed, you can install GMT by typing
brew install homebrew/science/gmtHomebrew will now install GMT 5 and any missing dependencies. This should take a few minutes.
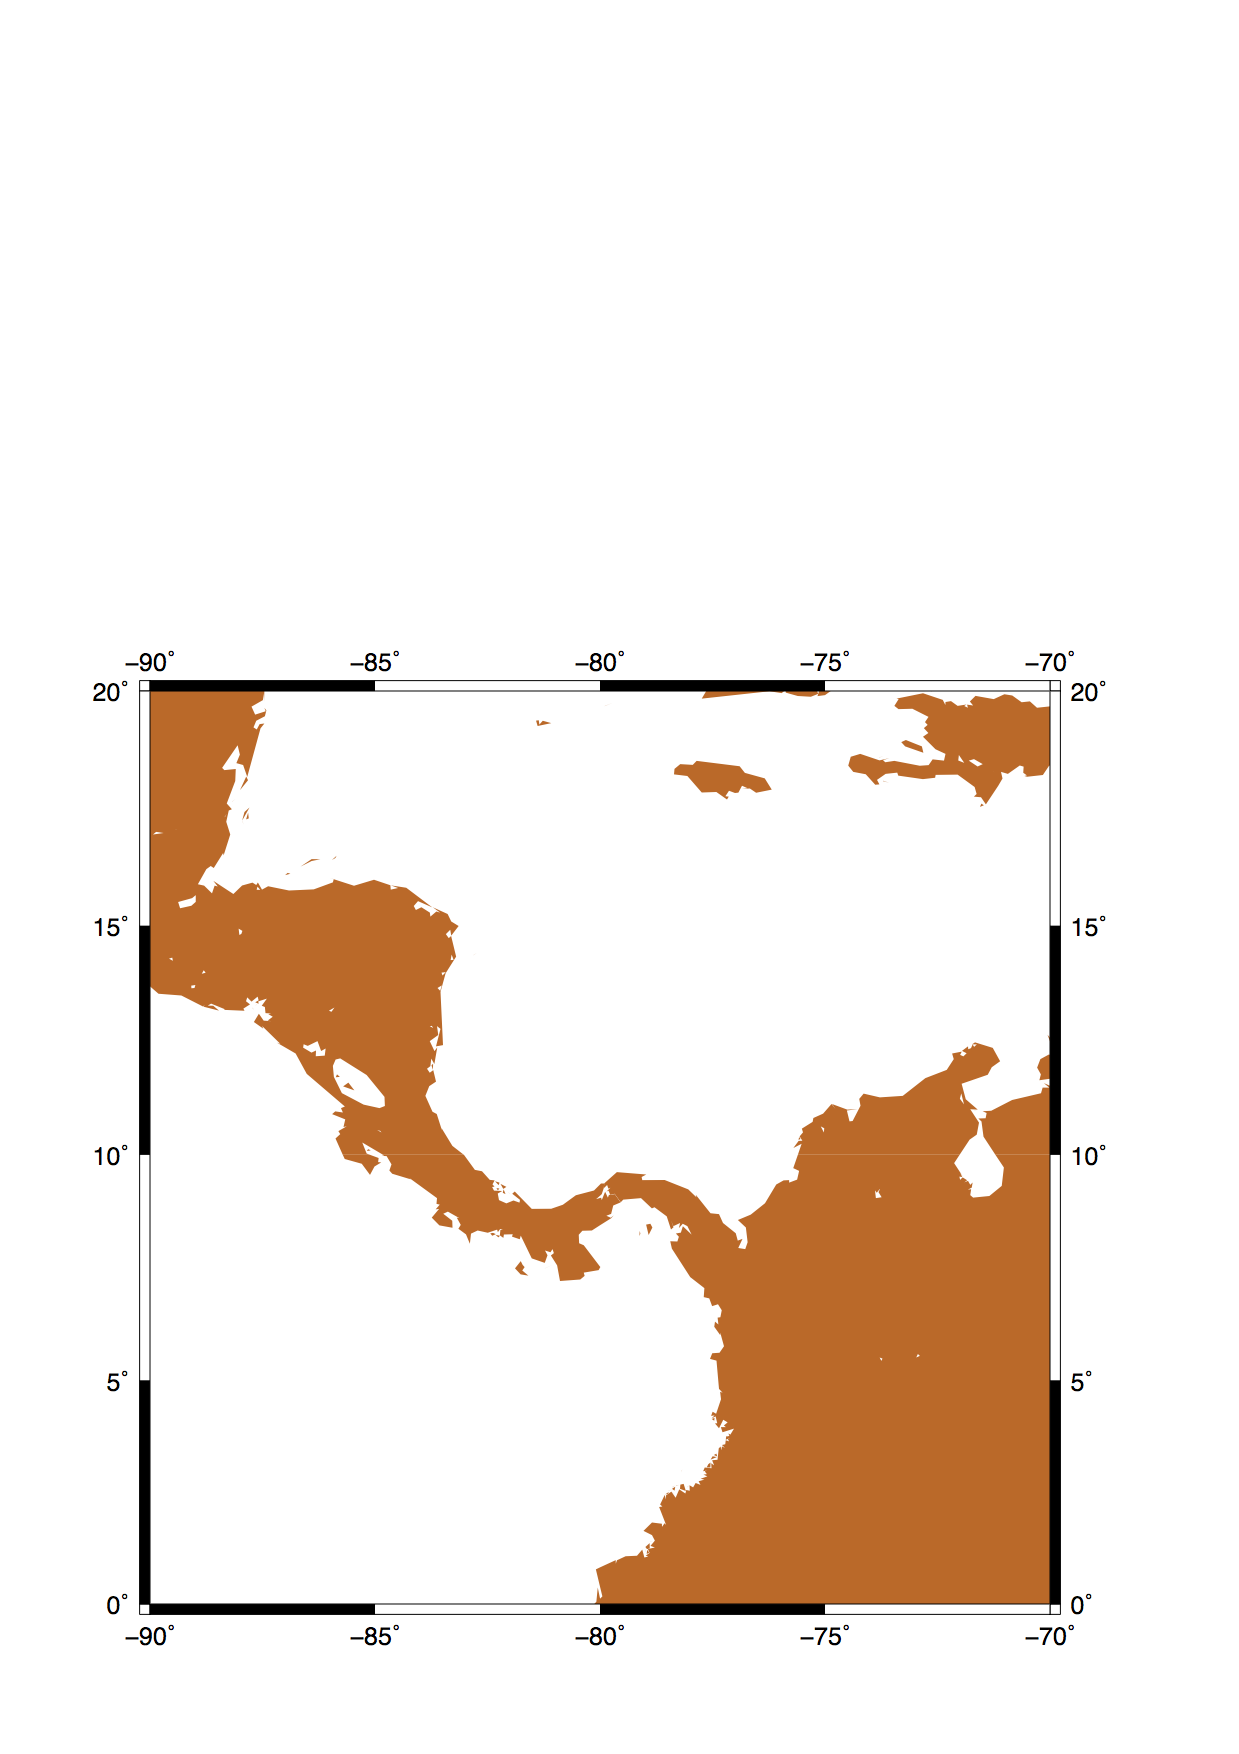
After you have completed the steps above, you can test that your GMT 5 installation is working properly by typing
open GMT_example.ps
This should produce a simple map of Central America as a postscript (.ps) file (line 1 above) and then open that map (line 2 above) in Preview.app or the application you have designated as your default viewer for .ps files. If the installation works you should see a map like that below (click to enlarge).
Related articles
Unknown macro: contentbylabel. Click on this message for details.
Unknown macro: details. Click on this message for details.