Windows 10 virtual machines in Cubbli
Last modified by Mikko Halmela on 2024/02/14 09:29
There are three ways to access Windows 10 virtual machines in Cubbli.
- Preferred way: just use remote VDI machines. If using VDI machines works for you, you can stop reading now.
- If you need a simple Windows 10 installation with no applications and no University configuration, you download and run a OEM licensed Windows 10 home installation.
- If you need a complete University Windows 10 Enterprise installation with all University's applications and configuration in a local VM, continue reading.
Windows 10 Enterprise with Active Directory
- This is the default windows installation for staff's laptops and desktops.
- Also called researchers desktop (tutkijan työpöytä).
- It turns out that this Windows configuration does not work properly offline or outside University's network. Office needs online VPN access to University's network to start and it saves all files to Univesity's network shares by default.
- This is only available for staff of University of Helsinki, because of Microsoft licensing agreements.
- Students are only allowed to use OEM licensed Windows 10 home installations, unless they buy or otherwise obtain their own license.
- It looks and works like VDI Windows, except that the VM is run on a local machine, instead of University's remote servers.
- For security reasons this Windows VM can only be used on a personal desktop or a laptop.
- You need to request AD Windows installation from helpdesk@helsinki.fi. Use subject line "I need an AD Windows 10 installation for my Cubbli Linux" and remember include the name of you Cubbli Linux machine.
- A new VM will be installed. When the installation is ready (it can take a few days) the new VM is moved to your local Linux machine. Since the VM image size is ~100 gigabytes, you need to have your desktop or laptop connected to a wired network when the image is copied.
Using the virtual machine
The virtual machine is implemented with Qemu + KVM hypervisor and it is managed by libvirt. It can be accessed and configured with virt-manager. Open virt-manager (from the linux start menu or from command line). First select the virtual machine which you want to use and click Open.
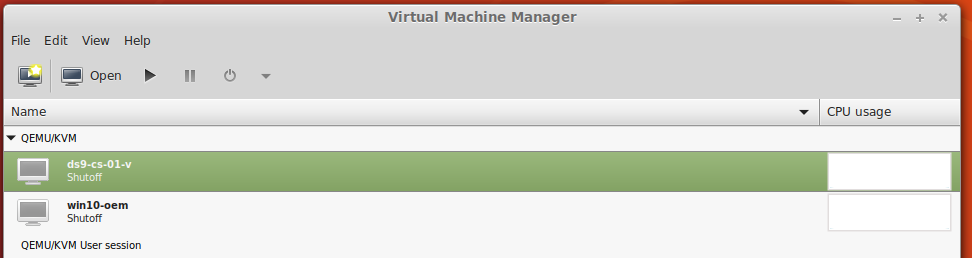
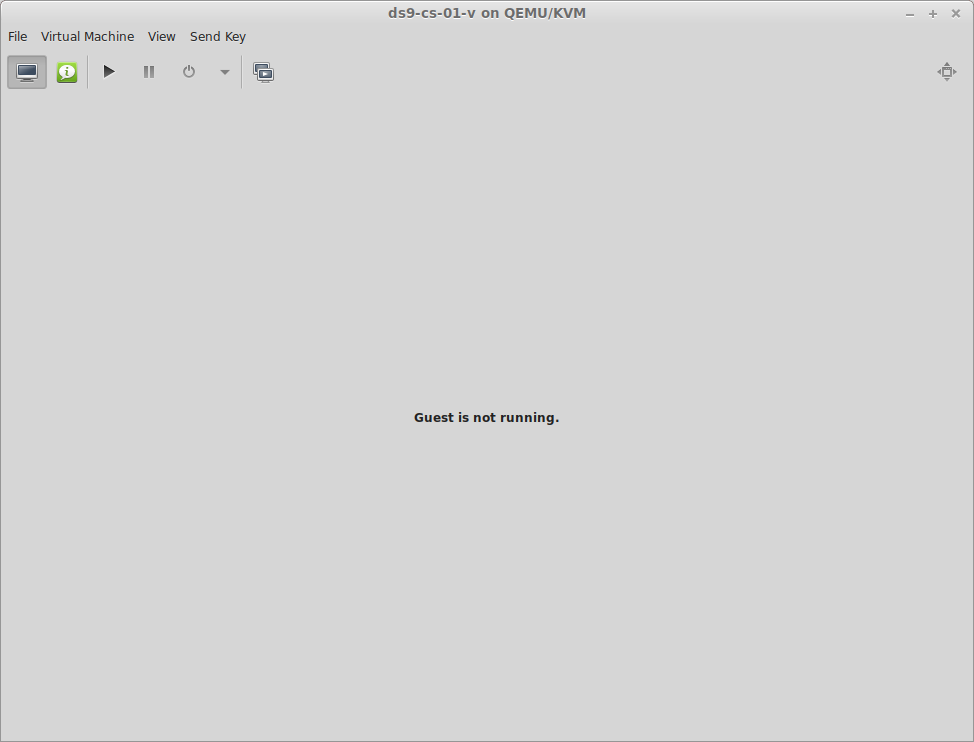
Then click play button to start your VM. After the virtual machine has started you can start using it.
Click the play button to start VM or Virtual Machine/run from menu. |
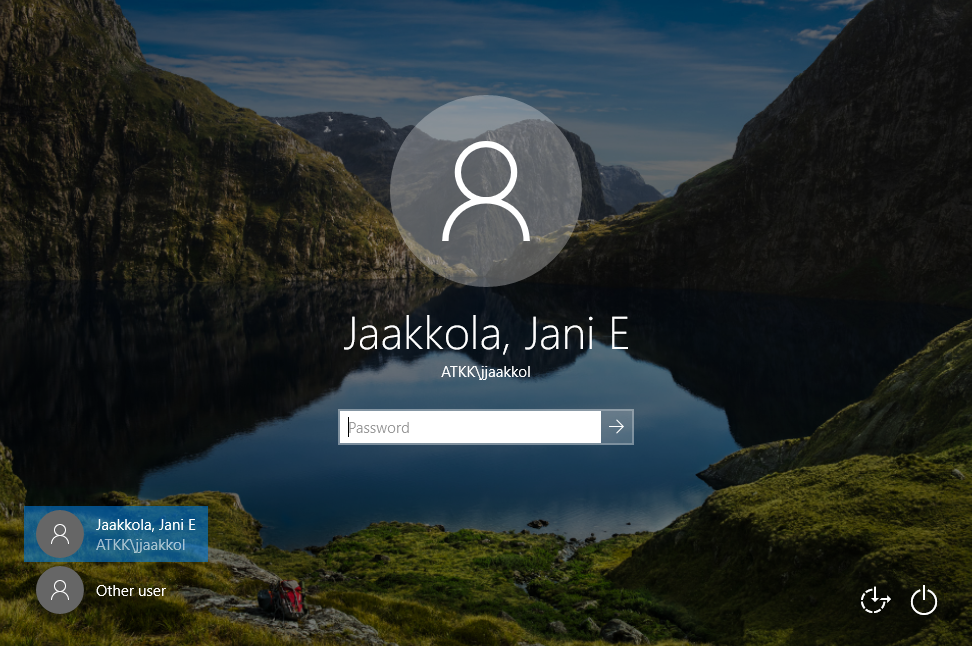
Hit CTRL+ALT+DEL to get the login screen. |
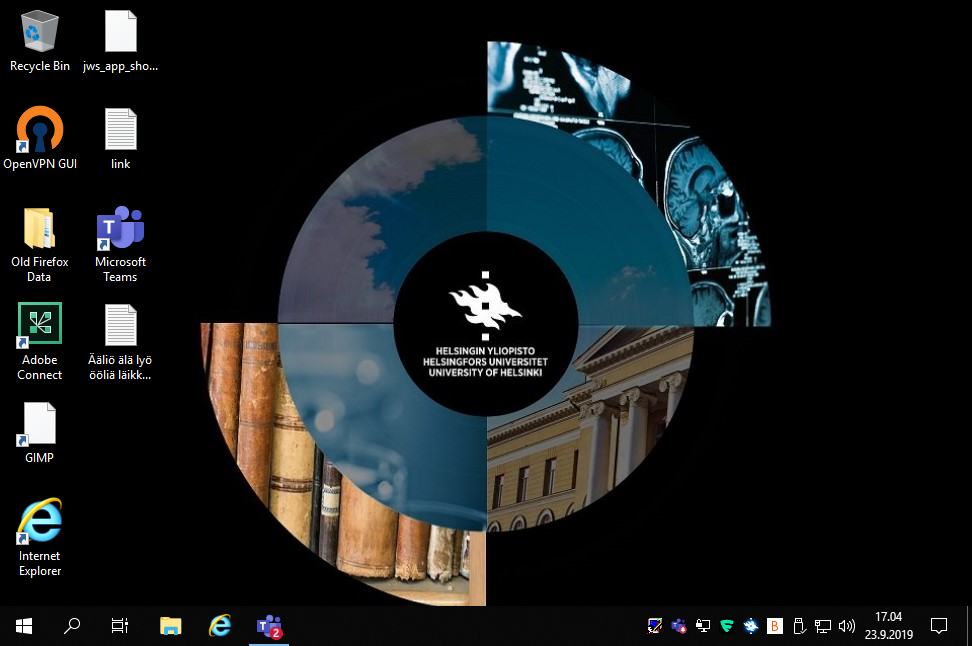
Windows 10 VM is ready for use. |
|---|
Useful hints
- To allow automatic rescaling of the VM to virt-manager window size select View / Scale display / Auto resize VM from virt-manager menu
- The command line utility to manage VMs is called virsh.
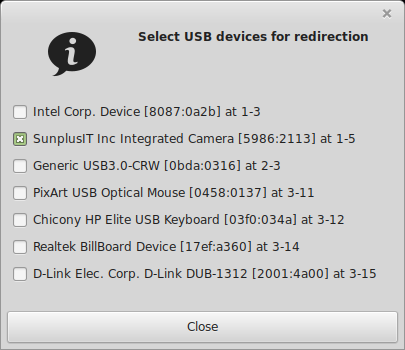
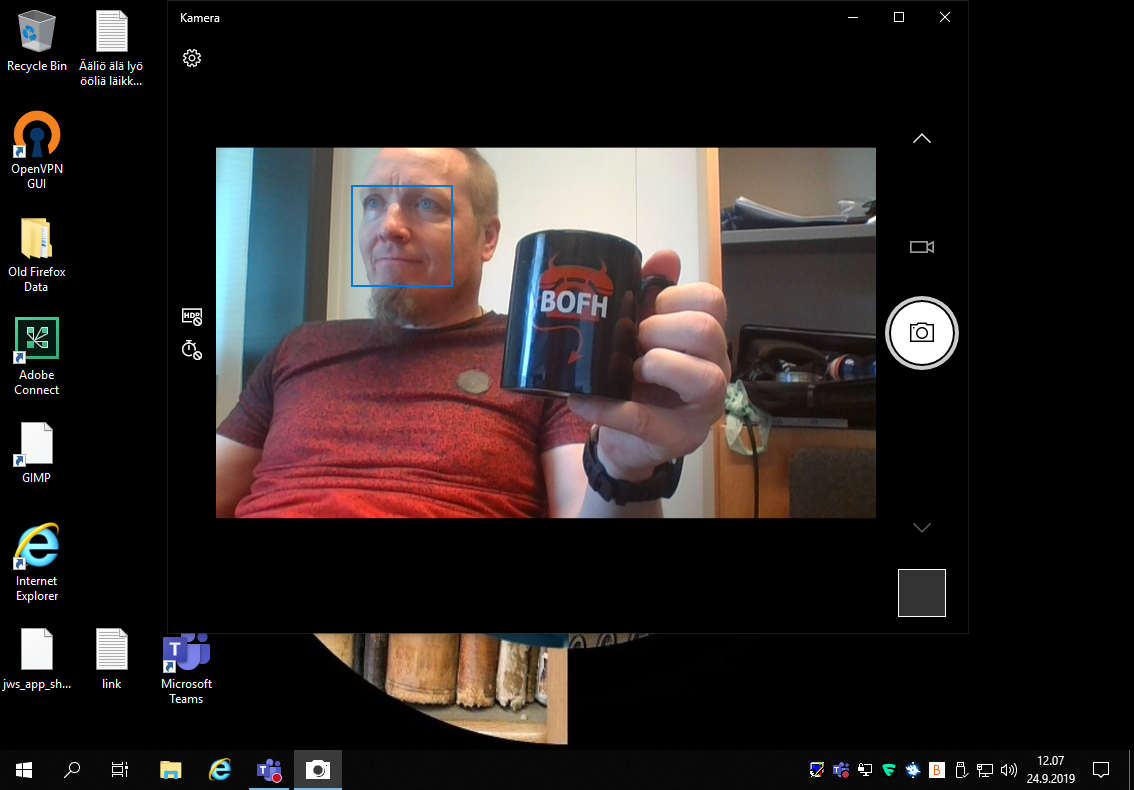
- You can redirect USB devices to your VM with Virtual Machine / Redirect usb device.
- Currently there is no good way (yet) to share files with the VM. You can use a shared USB storage stick, OneDrive or Dropbox storage or your university Z-drive.
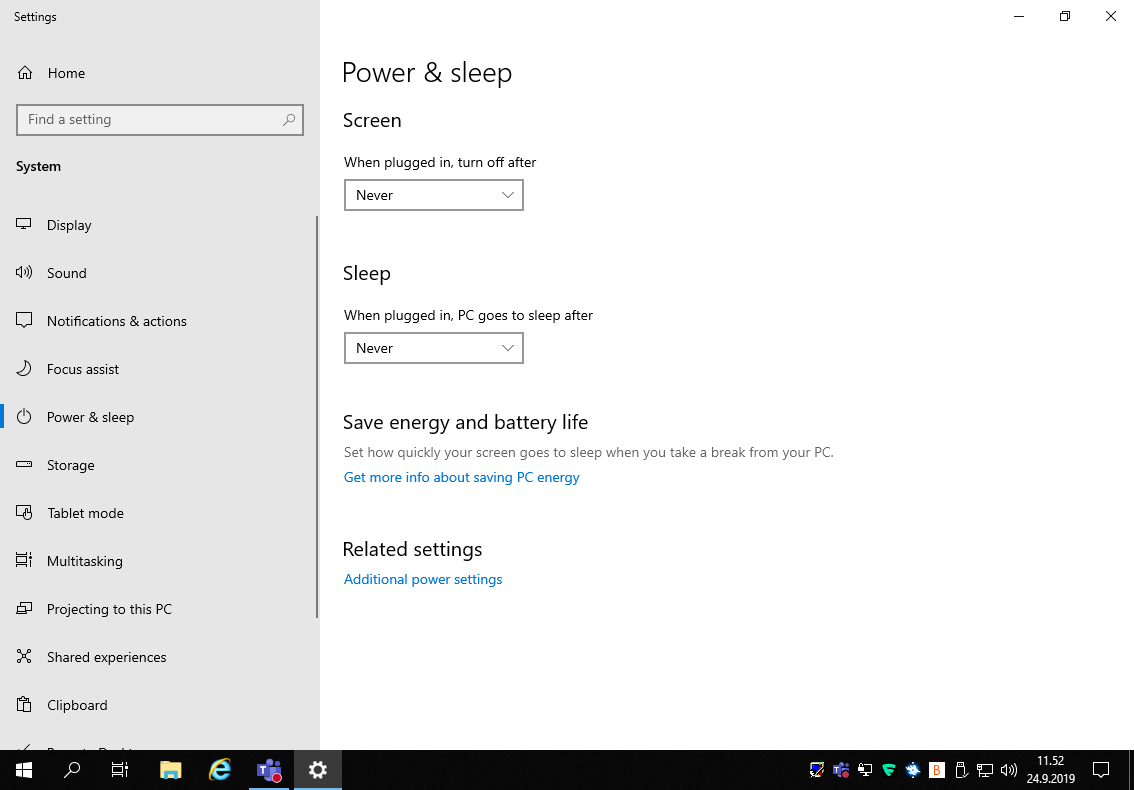
- You can disable screen lock so that you can access your VM without typing your password. The VM should only be available to you.
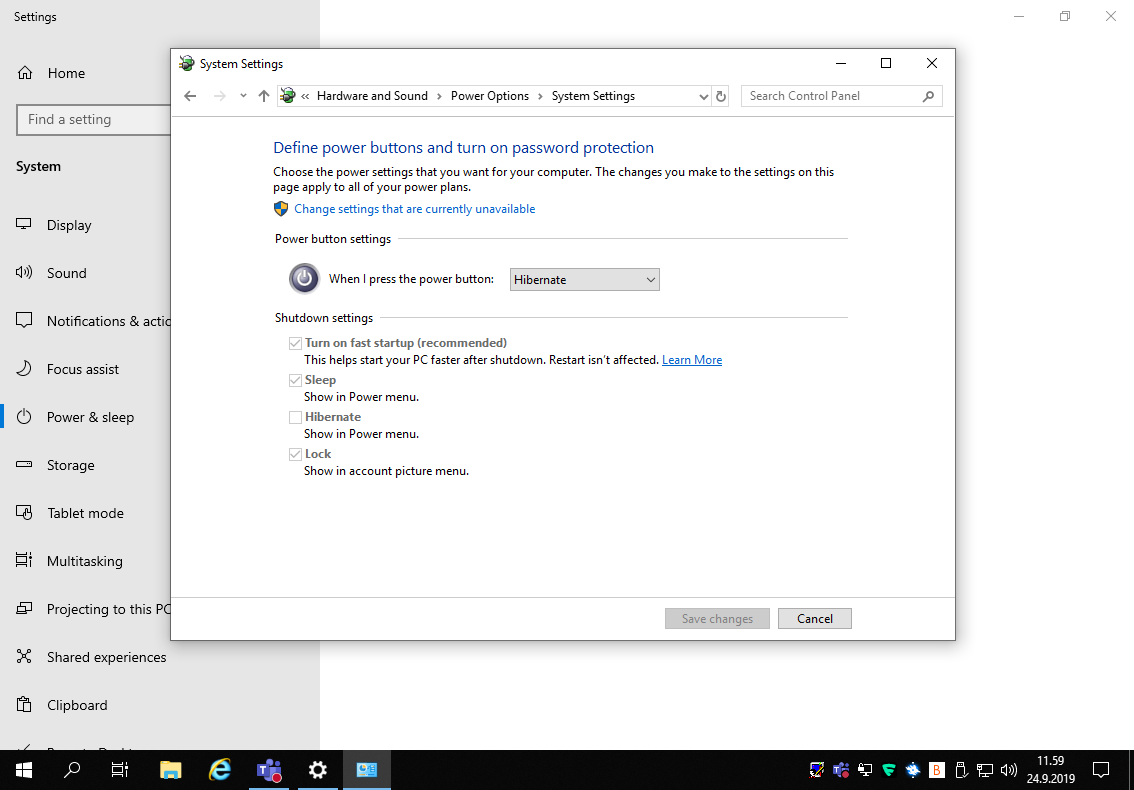
- Configure the virtual power button (from menu Virtual Machine / Shut Down / Shut Down) to hibernate windows, so that it is easy to shut down and to resume your session. The "Save virtual machine" feature of virt-manager doesn't work properly with Windows 10 VMs.
- The virtual machine uses system resources and drains laptop battery. Turn it off when you are not using it, but remember that it still needs to install updates after every Patch Tuesday.
- You are free to install and configure your own VMs. However avoid saving large VM images to the system root directory, since it is easily filled.
Virtual Machine / Redirect USB device dialog |
Laptop web cam redirected. |
Turning off screen saver. |
Enabling hibernation from power button. |
|---|
Technical details
- The VM has 2 virtual CPU cores enabled by default and 4G or 8G of main memory. You are free to change these settings through virt-manager. Remember that Windows 10 Home can only use virtual CPU cores, not virtual CPU sockets, since it is licensed for single CPU machines.
- The VM has 100G of virtual disk. You can add additional virtual discs through virt-manager.
- The virtual network is a local ethernet at address at 192.168.122.*, where the VM is given a address with DHCP. The host device always has the address 192.168.122.1.
- Network route outside is provided with NAT. You can change this, but avoid it. It is safer to keep the Windows installation (and other VMs) behind a NAT router.
- The hypervisor is implemented with Qemu, KVM and libvirt software packages.
- The access to the VM is provided with spice protocol.