First login to a Cubbli Linux host
First login to Cubbli Linux
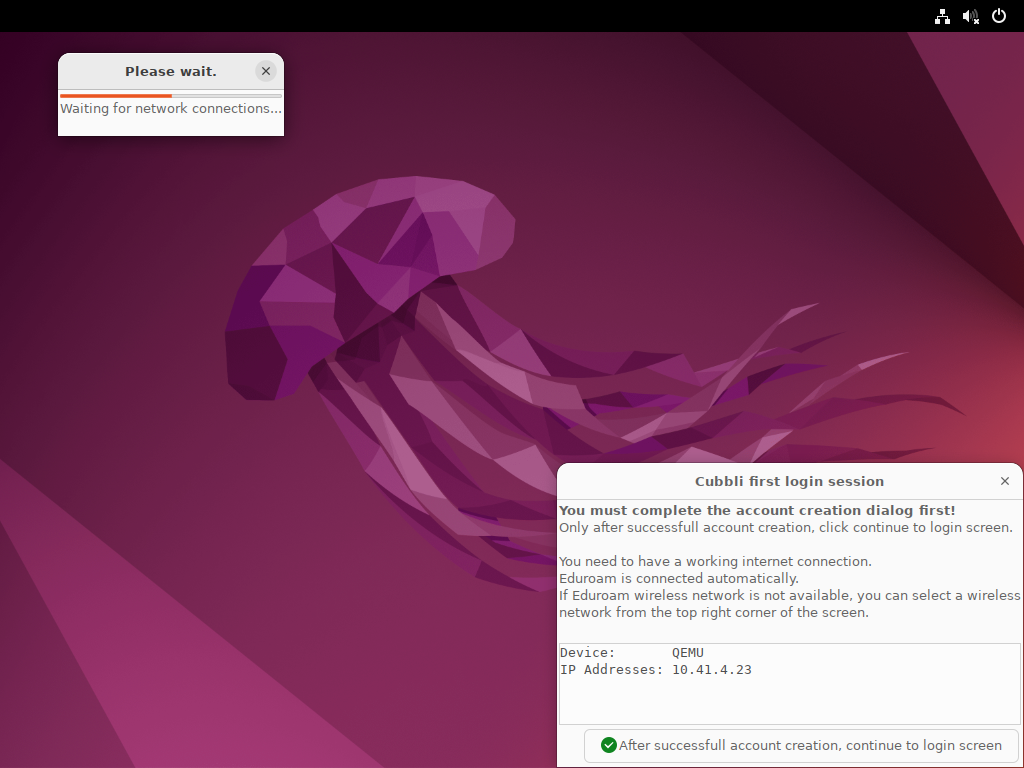
You can use any Internet connection for your first login to Cubbli 22, but we recommend using a wired network connection. Remaining updates will be installed during the first login session, and your computer will connect to the university network for first login user account validation. After your user account validation is completed, your user account will also work offline.
If the computer was upgraded from an earlier Cubbli installation, all wireless connections will be forgotten, and you need to reconnect to the wireless networks you have used previously.
1. The preferred and easiest method for your first login is to connect to the Internet with a wired connection. You can also connect to the network over USB.
- Please note: the network connection also works by connecting via USB to your cell phone. However, you must be willing to pay your cellular data plan costs for downloading multiple gigabytes of data.
2. The eduroam network (if available) will be used by default when a wired network connection is not available.
3. You can also connect to any visible wireless network for the update to work.
If you see a “Cubbli first boot in progress” window, let it run all configuration and update processes before proceeding. Then close the window by clicking “Close”. You can safely ignore the error message “FIRMWARE UPDATE FAILED”:
Wait for updates to finish.
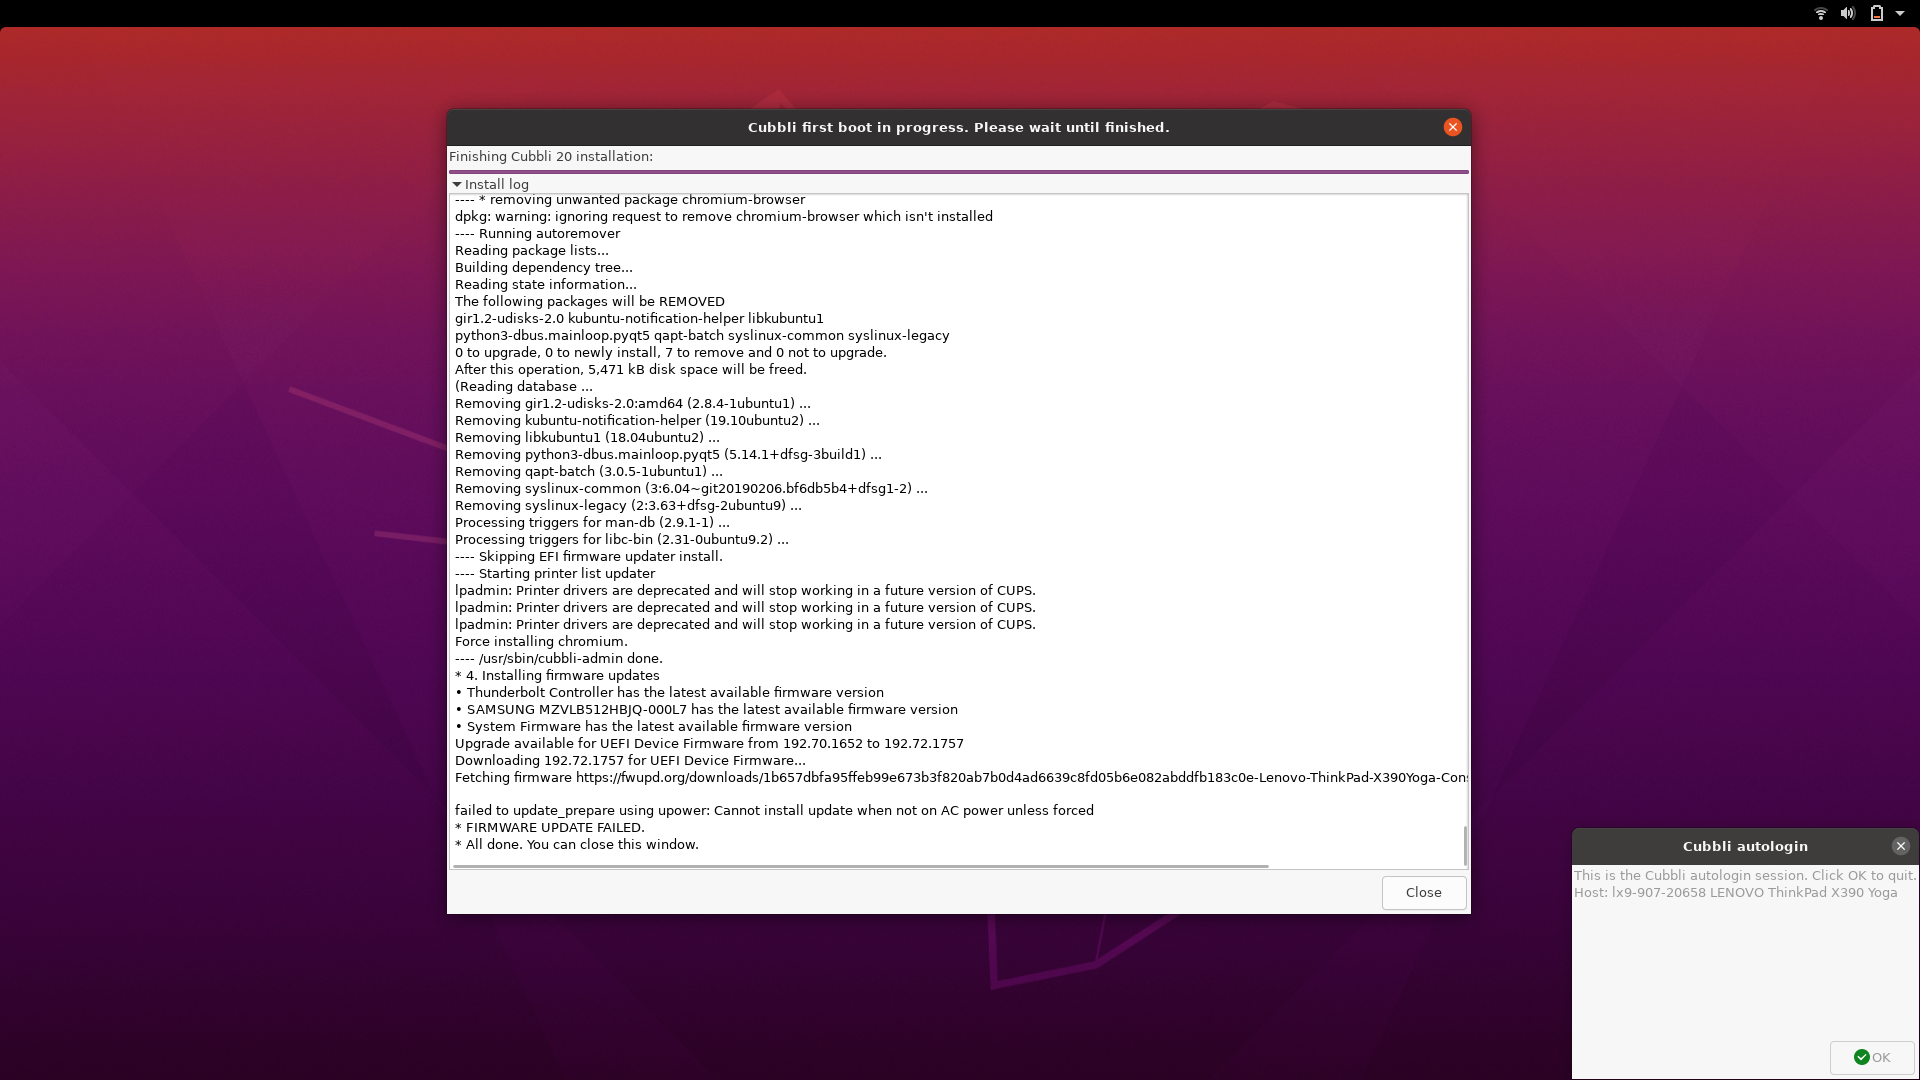
Now you can close the update windows.
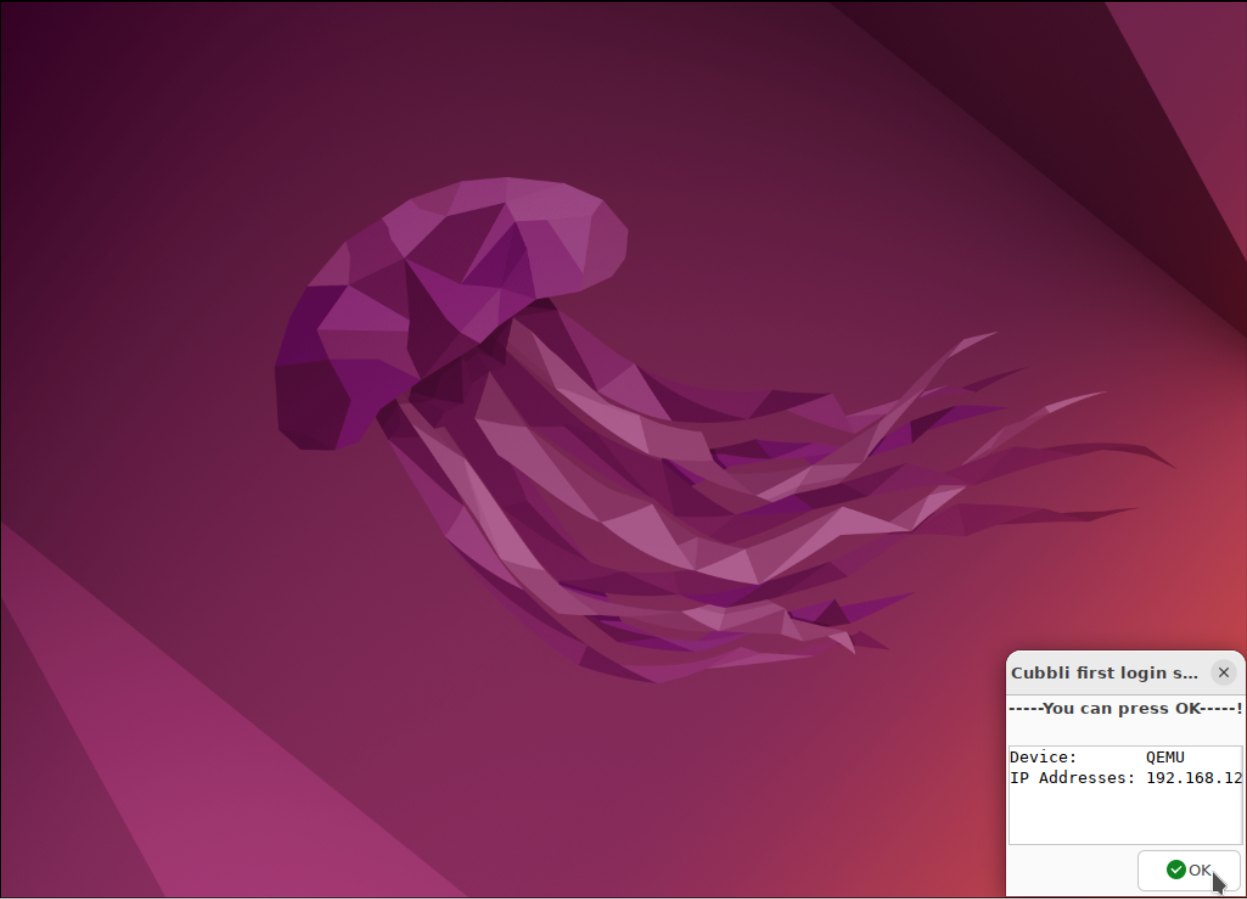
Next, log in with your university username and password and click “Ok”.
The keyboard layout is set to Finnish. Use your current user account, as the old local laptop password will no longer work. The connection will be secured by VPN automatically, if necessary.
Log in with your university AD account (e.g. ‘rkeskiva’).

Wait for connection to the University network.
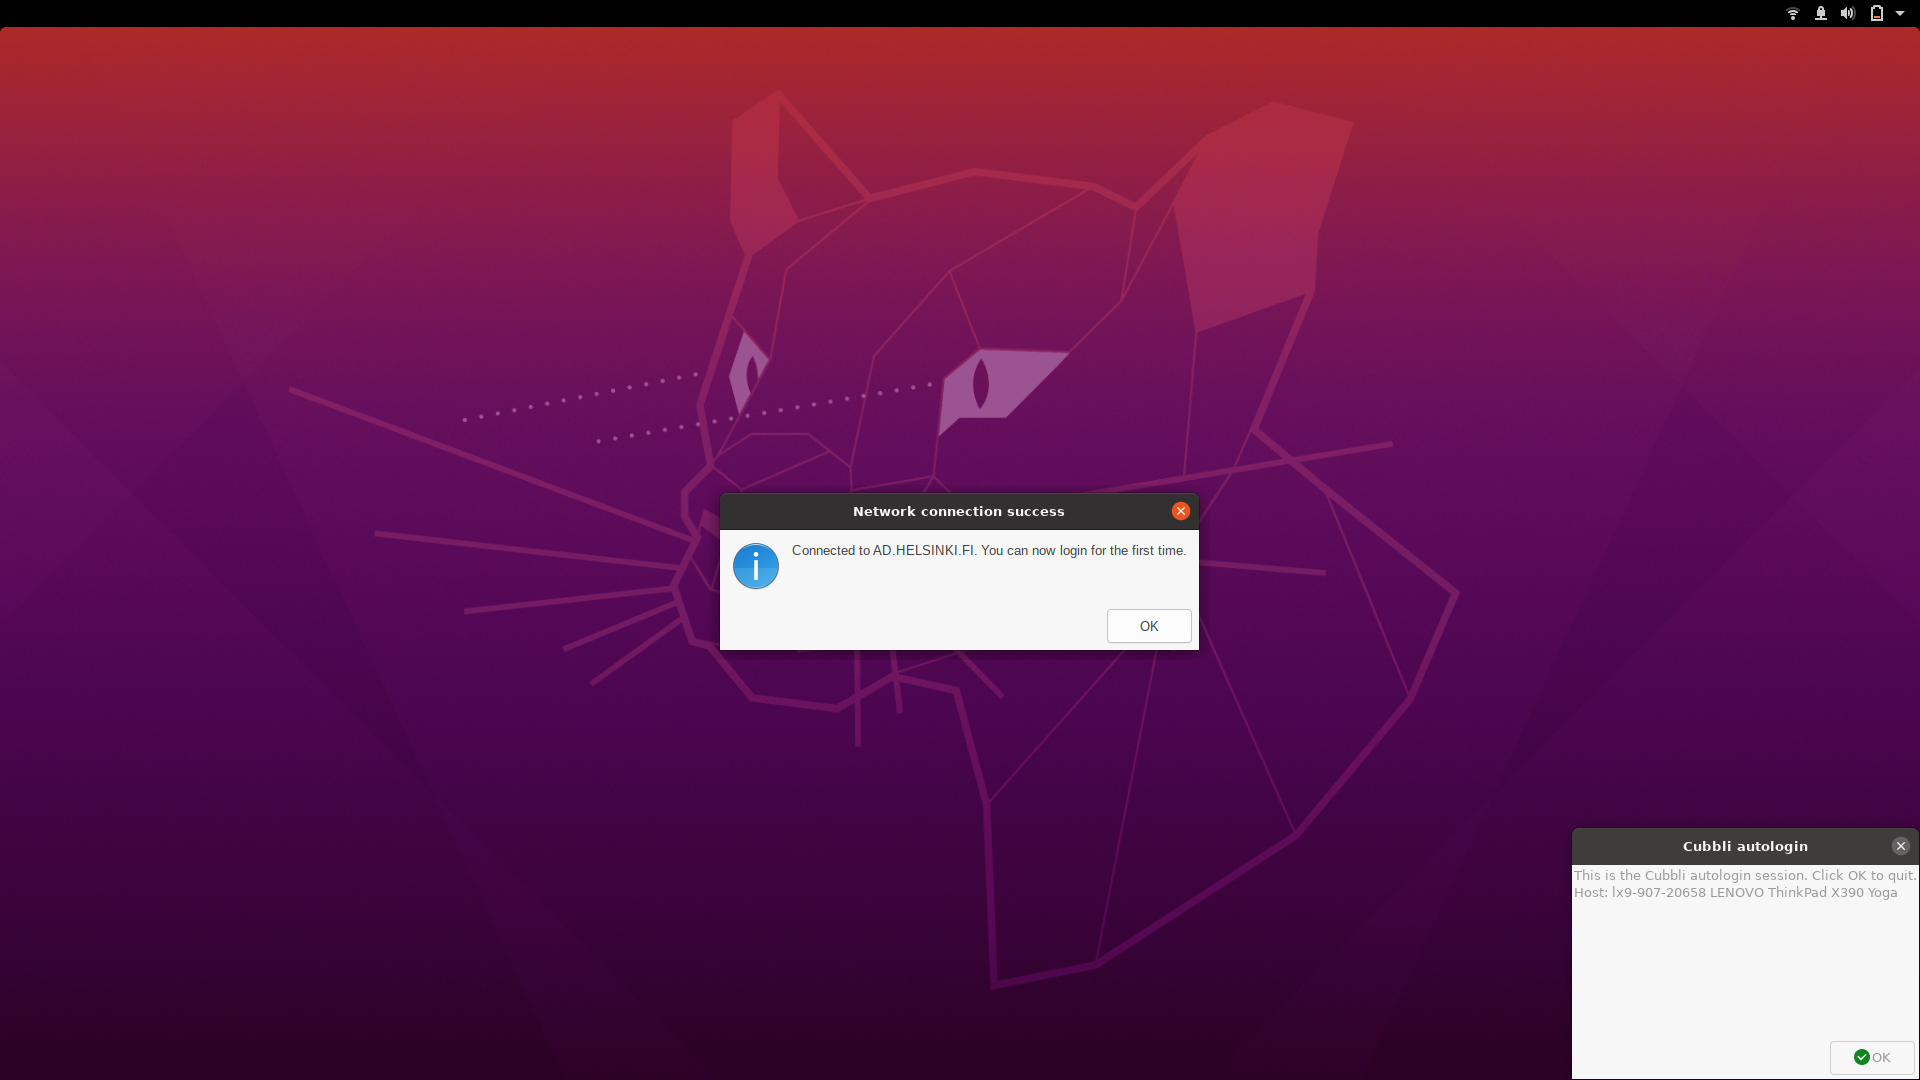
Connection succesfully established.
Click “Ok” to proceed to normal login.
Please note: if you clicked “Ok” before the first account creation process had completed, please restart the computer and try again.
After the account has been successfully created, the default login screen looks like this:
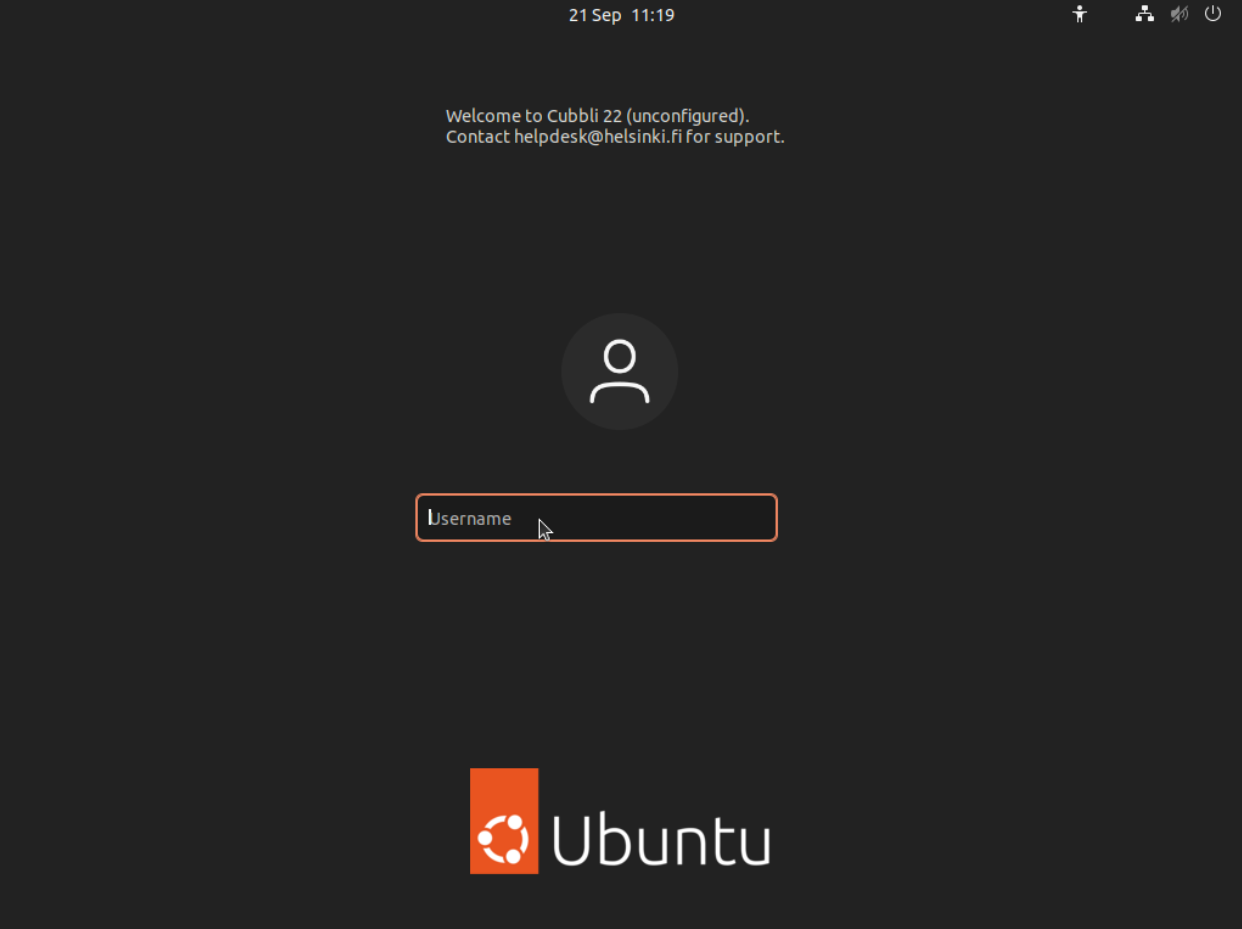
Enter your university AD account name (e.g. ‘rkeskiva’).
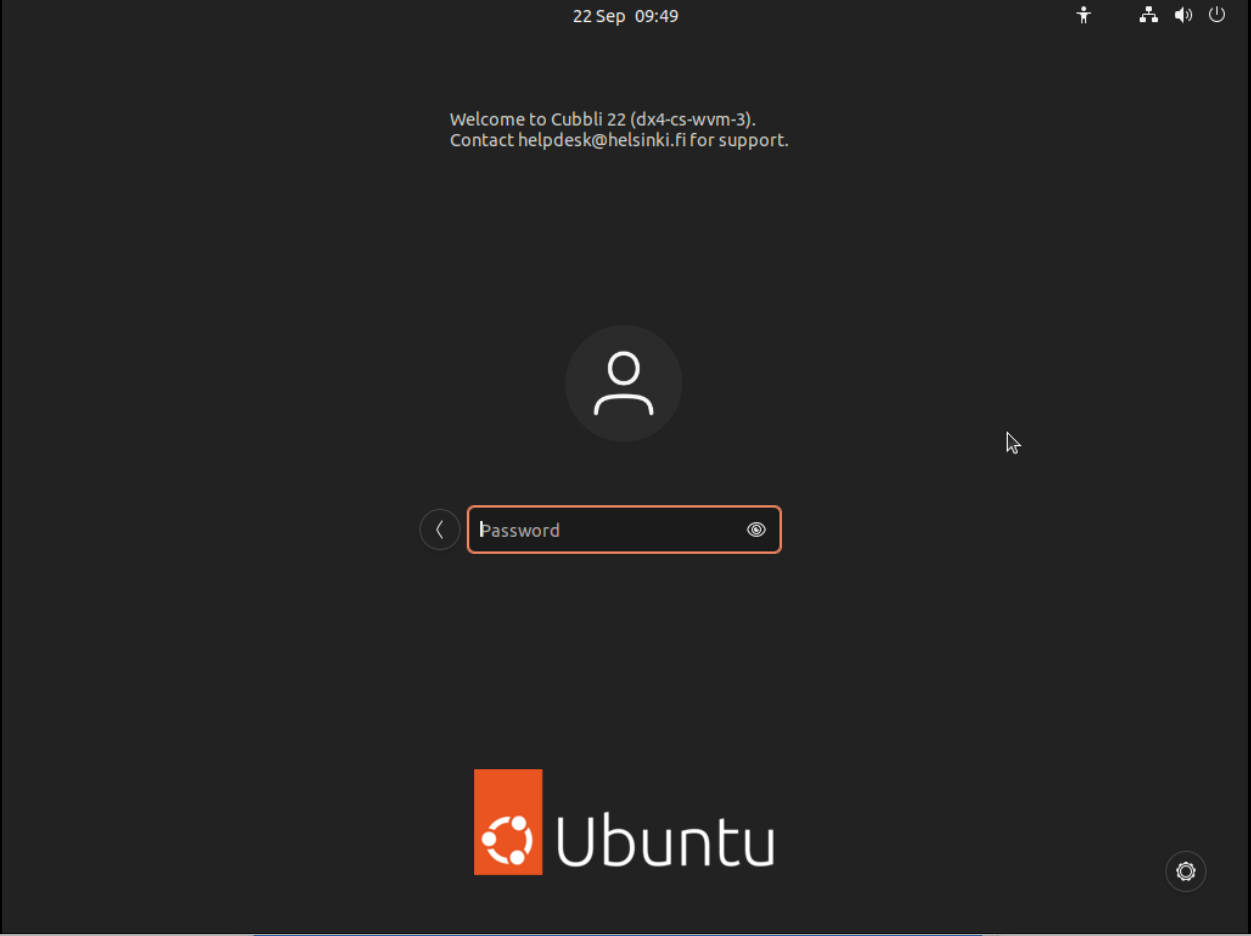
Next, enter your current university AD password to login.
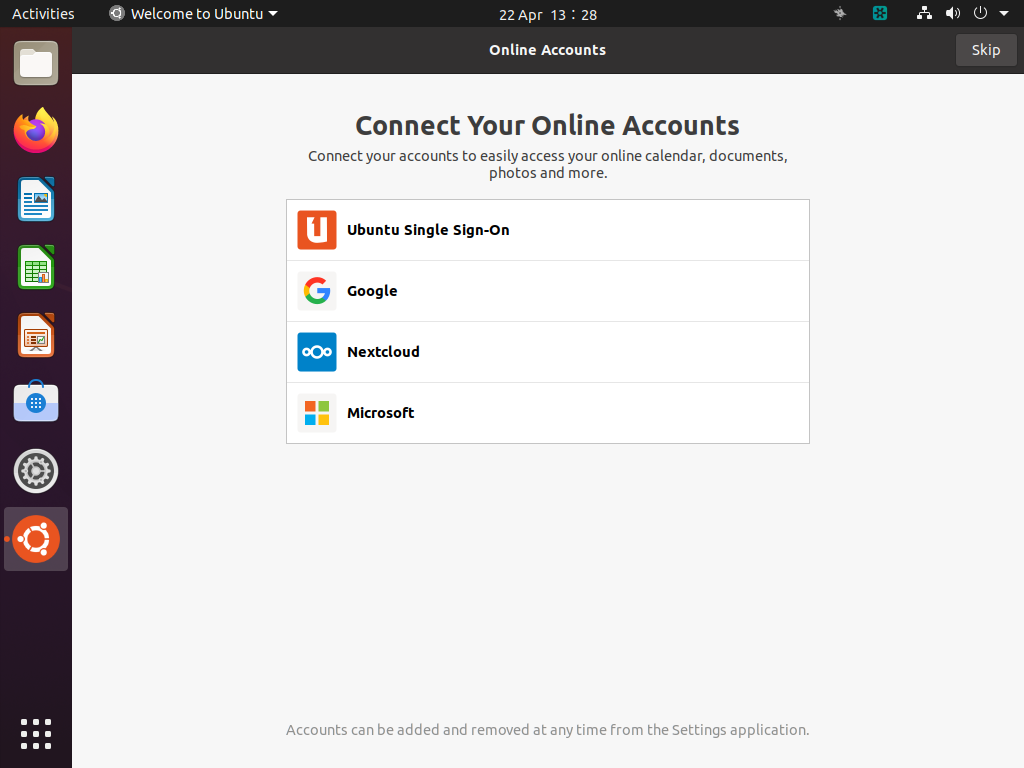
Your first login might take a while (few minutes at the most). If you want to access your cloud accounts at login, you can add them after successfully logging in, but it is safe to skip them.
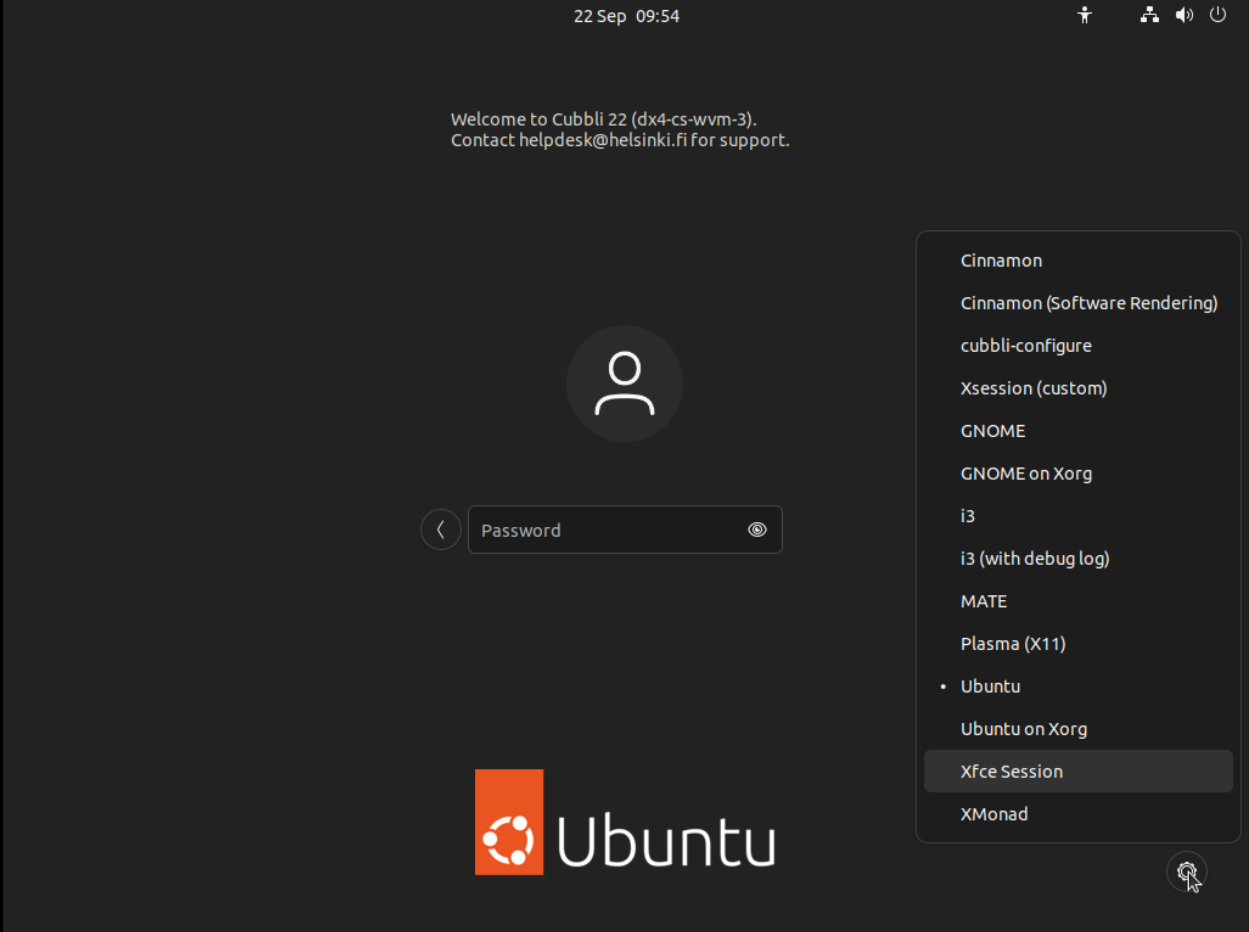
If you would like to use another desktop environment instead of Gnome, you can choose your preferred environment by clicking the settings button at the lower right corner of the login screen after entering your user account information:
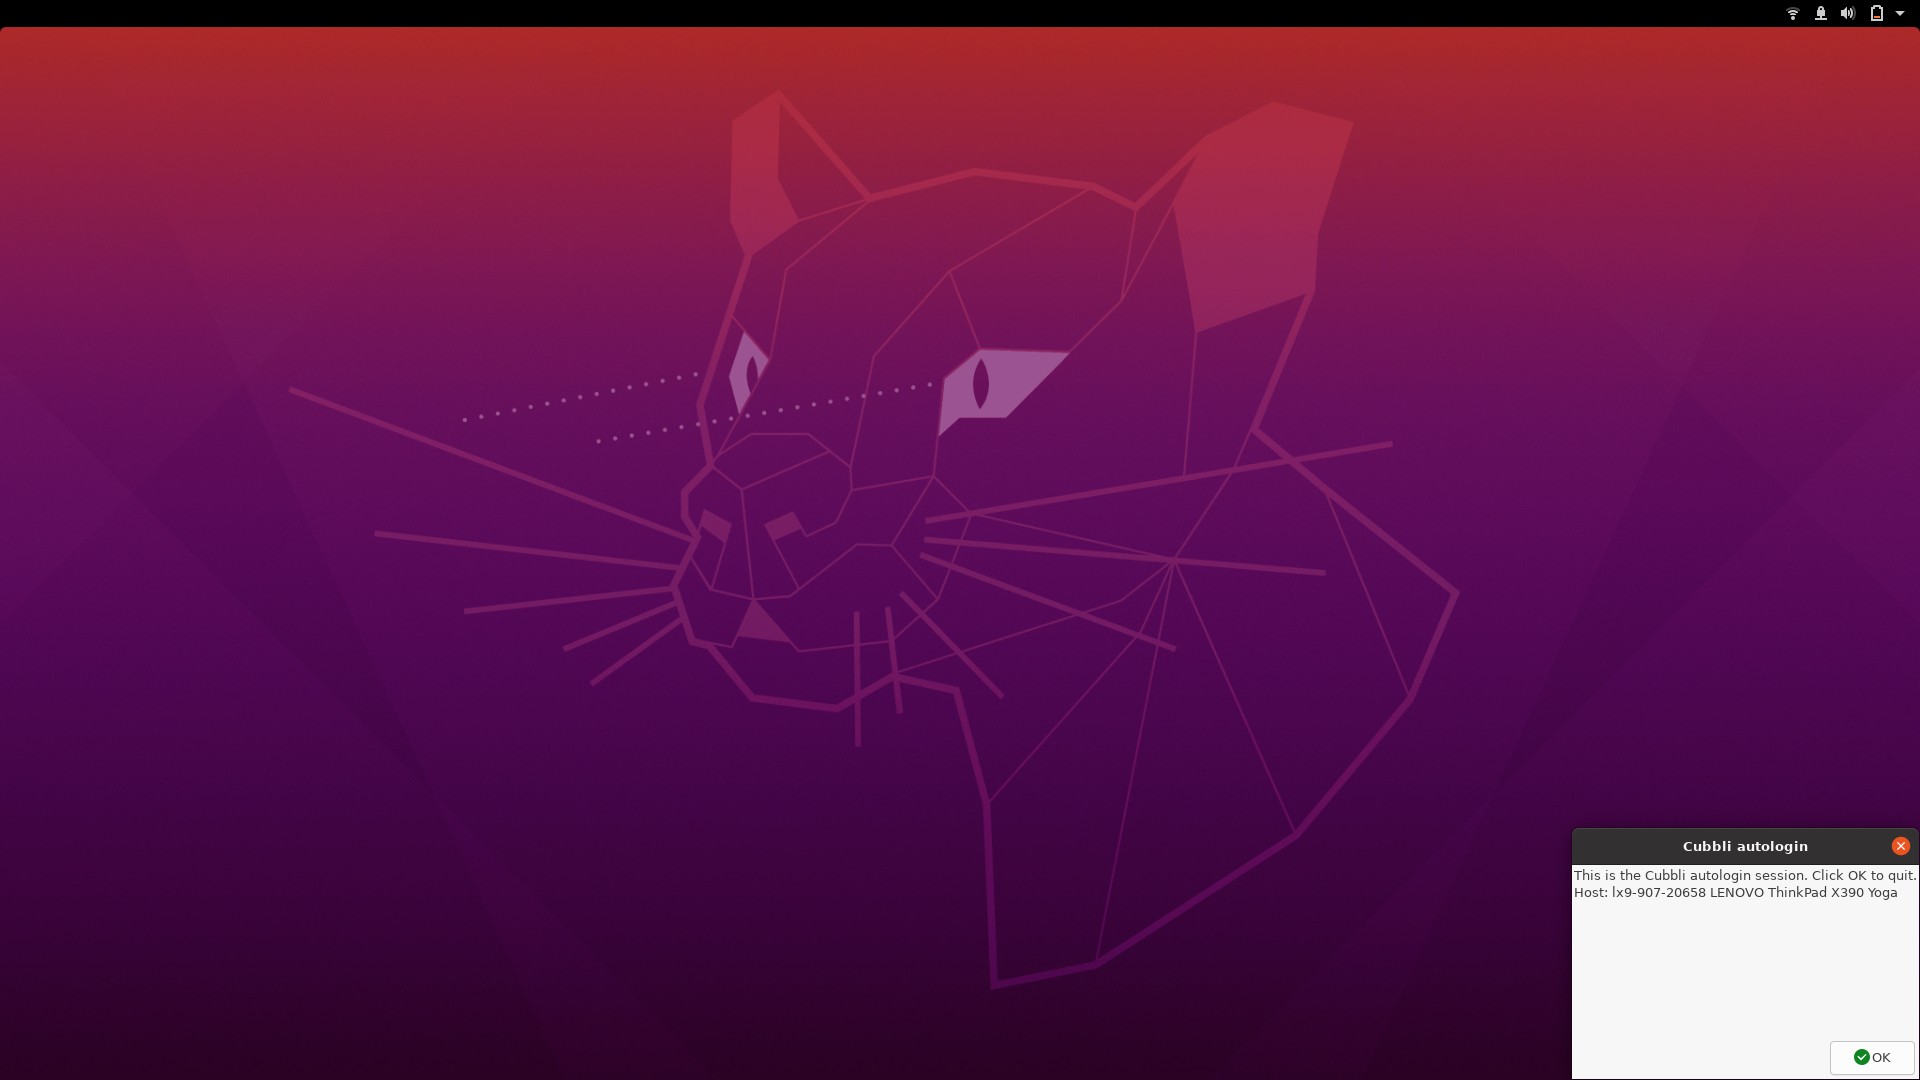
When you reboot the computer for the first time after your first successful login, you will see the autologin window once more:
Click “Ok”, and you will see the default login screen.
More info on Remote access to University resources.
Problems? Contact helpdesk https://helpdesk.it.helsinki.fi/